

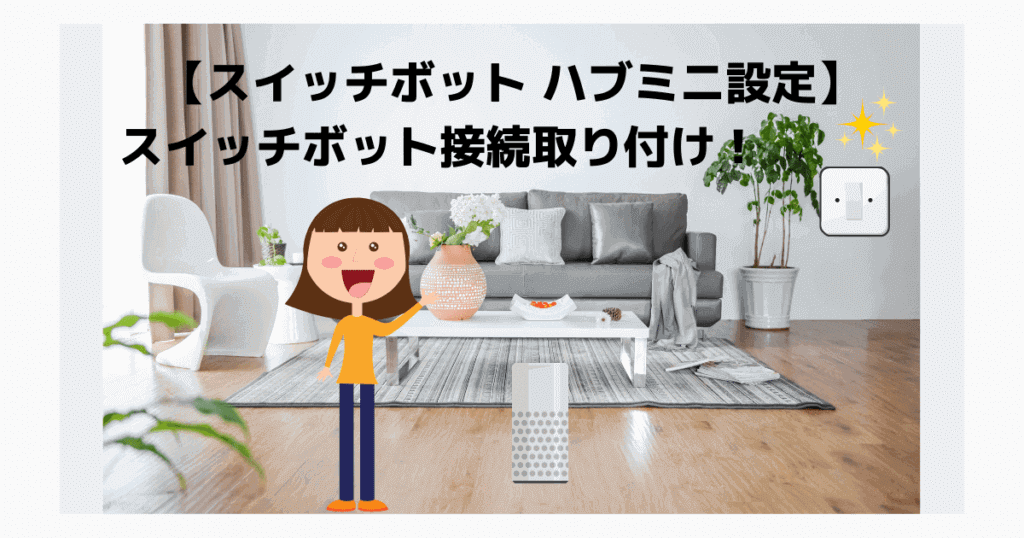
こんにちは。
スイッチボットの設定を解説していきます。
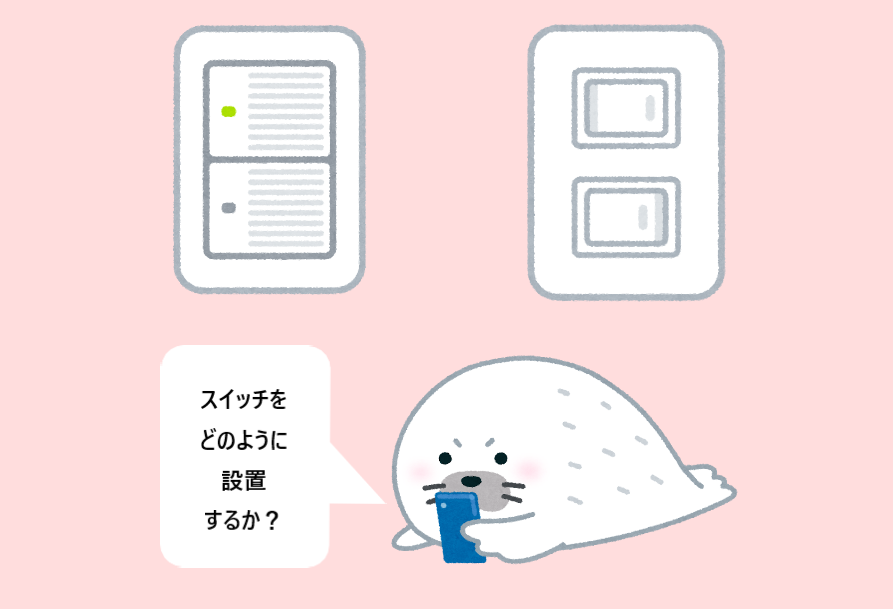
まず、私が一番やりたいのは【リビングの電気、オンオフ】です。
我が家は蛍光灯がついている形の照明で、リモコンも特についてない、電気オンオフする為の紐も壊れてしまったという・・・。

ということで、スイッチボットの商品ページを見て、スイッチオンオフ出来る装置があるのならいつか買ってみたいなぁと思っていたのが購入のきっかけです。
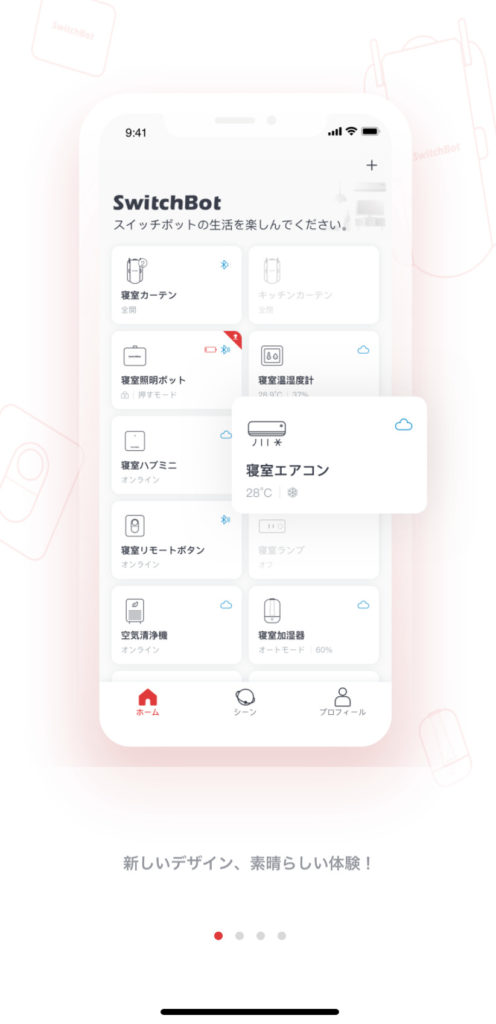
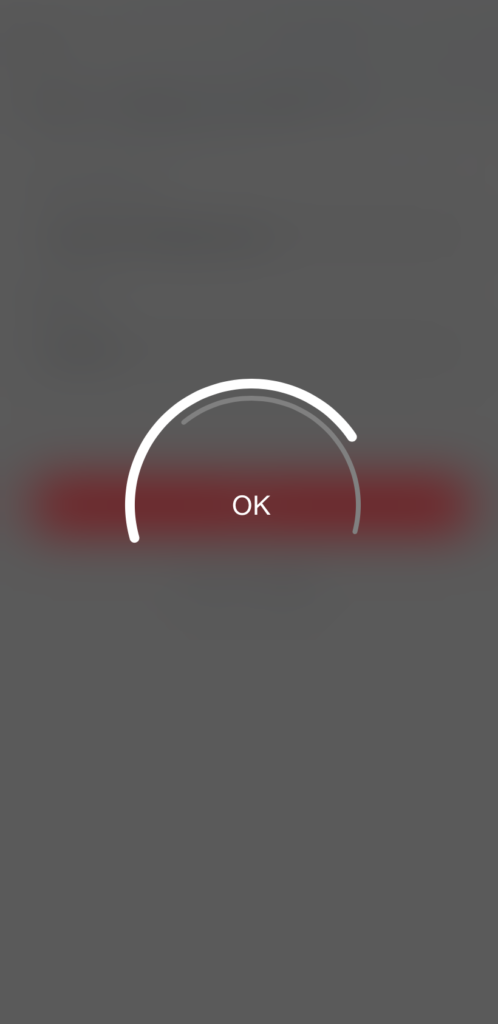
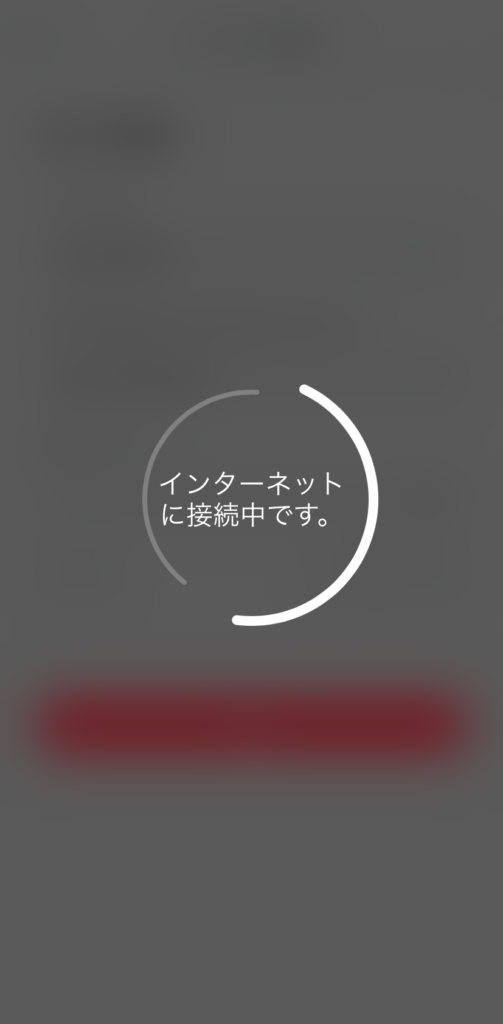
わたしと同じように↓この画像が気になっているあなたに、購入から設置、設定までをご紹介します(^^)/

スイッチボットを設置し便利になった生活

結論から申しますと、スイッチボットを設定しアレクサからもリビングの電気のオンオフが出来る様になりました。
勿論、アレクサに指示を出さなくても手動でもオンオフ出来ます!←アレクサやスイッチボットアプリからしかオンオフ出来なくなるのではないかと少し不安になって来ていましたが問題ないです。
今の状態はこんな感じ↓(*^▽^*)。音声ありなので再生していただく際にはお気を付けください!
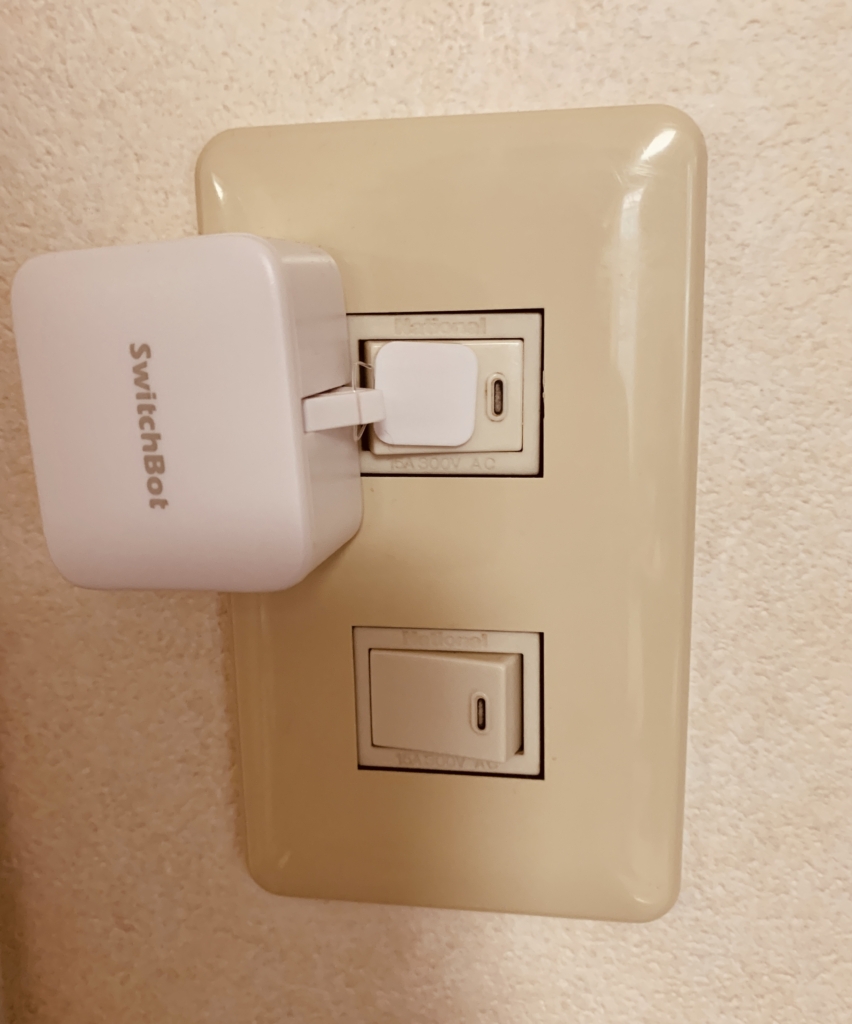
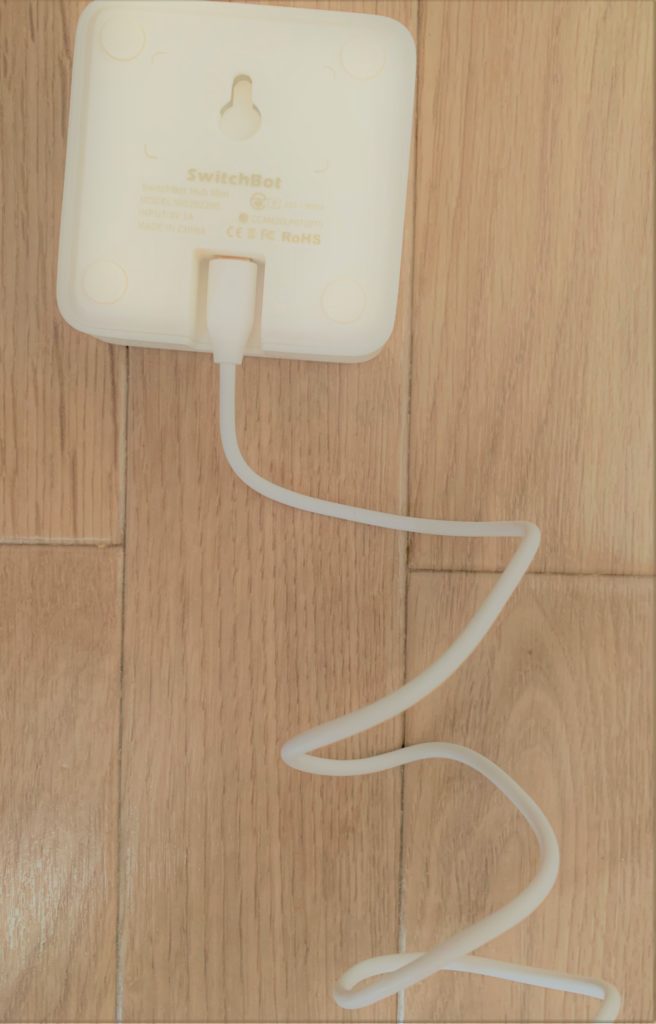
設置したけど少し斜めになっていますw
スイッチについている白いのは両面テープです。
これっていつまで持つのだろう~(^^;
と思いますがかなり強力な粘着テープなので大丈夫!!
仕事したりPCに向かっているといつの間にか暗くなっていてパソコンのキーボードが見えなくなっている時があるので、リビングの電気を遠隔でオンオフしてくれる機能が出来て本当に便利です。
机のライトもあるのですが、やはり部屋全体が暗いと結構キツイ(>_<)!
仕事中だとPCの前から離れられない時もあり。。。
机から離れずにリビングの電気が点けたい!という願いが叶いました。
ちなみに寝室の電気も勿論、従来のスイッチボタン式ですが、スタンドライトがあるので電球をアレクサと連携しています。
TP-Linkの製品を使っています。

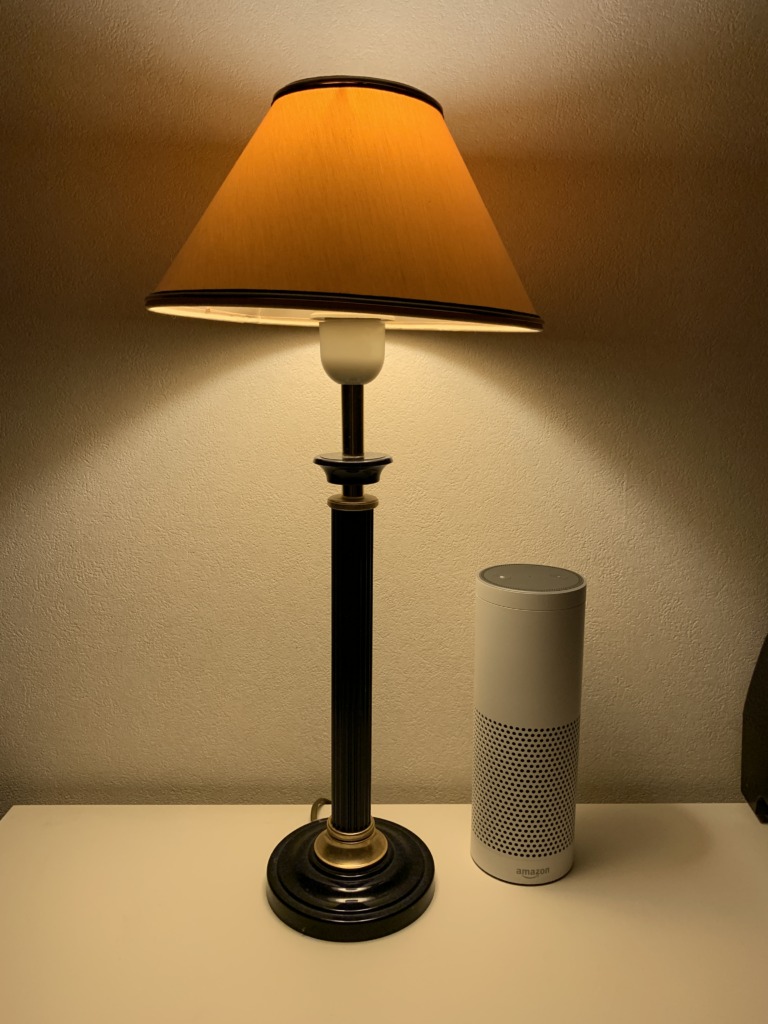

【Amazon Alexa認定 LED電球 】TP-Link Kasa スマート LED ランプ 調光タイプ E26 KL110 800lm 電球色 Echo シリーズ/Google ホーム/LINE Clova 対応 追加機器不要 3年保証
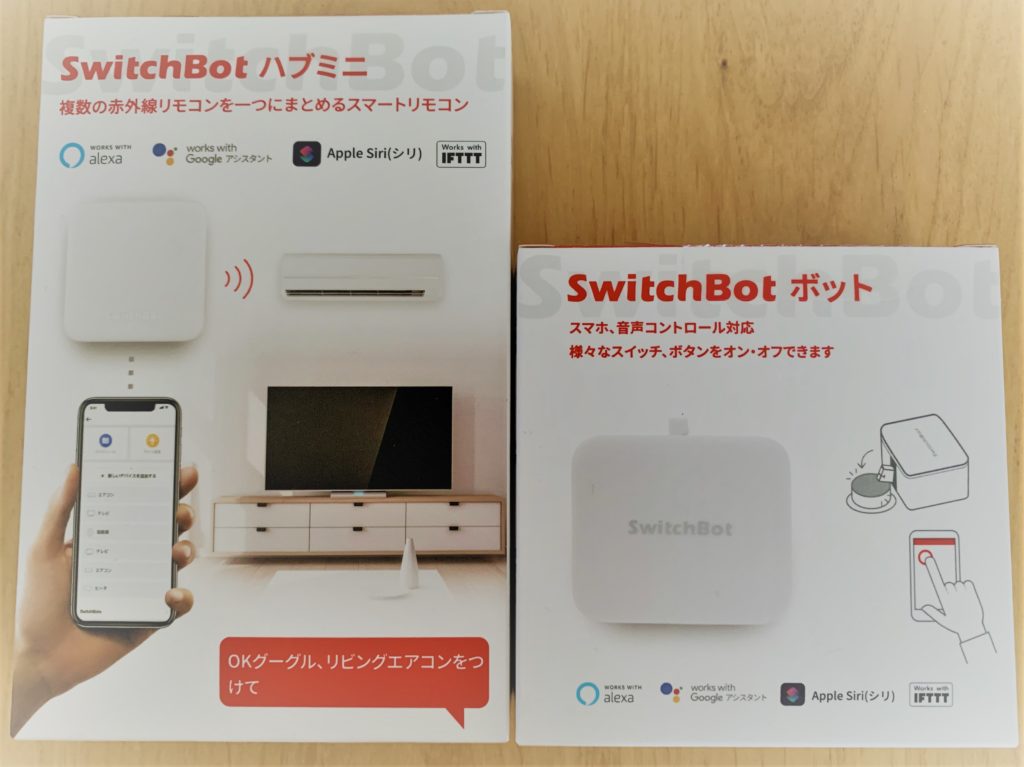
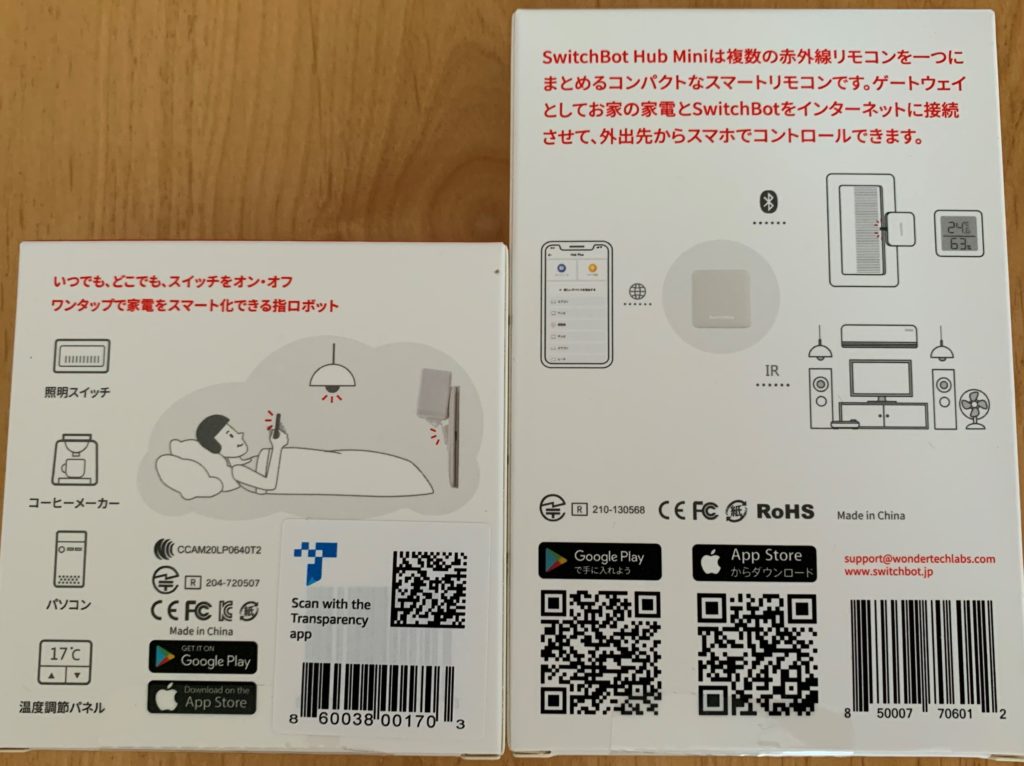
スイッチボットでスイッチのオンオフをするために何を購入したら良いか?

スイッチボットのスイッチをオンオフにするために、Amazonで「スイッチボット」と検索すると・・・色々と出てきます。
正直どれを購入したらよいかわからなくなってくるくらいスイッチボット関連が沢山あります。
今回わたしはスイッチをオンオフにしたかっただけなので、下の2つを買いました。
本当にこの2つを購入すれば大丈夫なのか?わたしがやりたいことは出来るのか?と、少し不安でしたが大丈夫でした(^^)

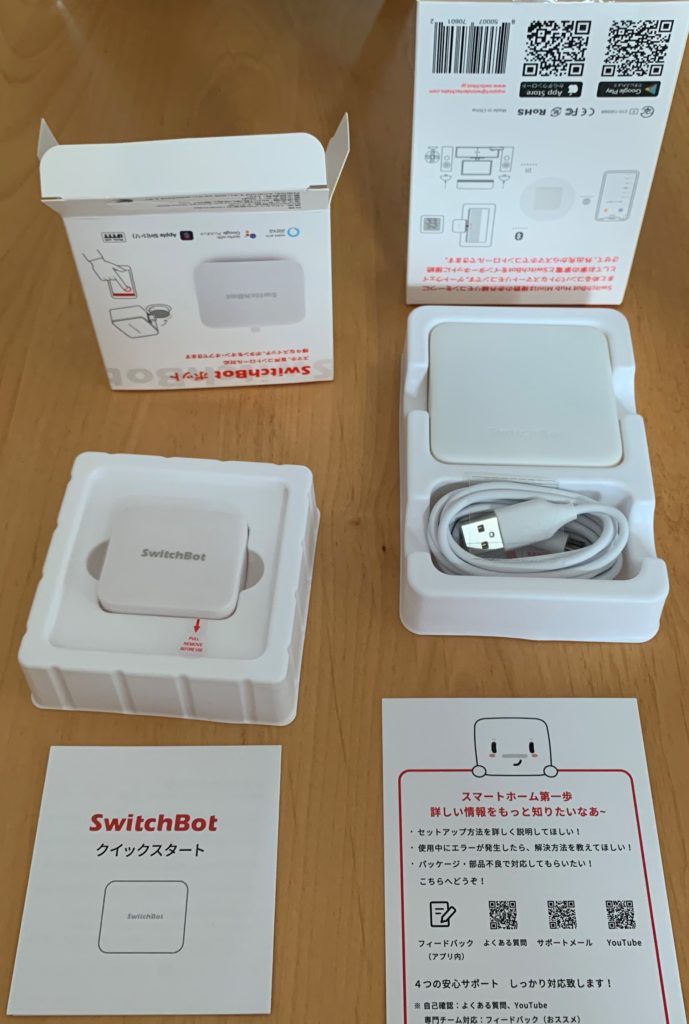
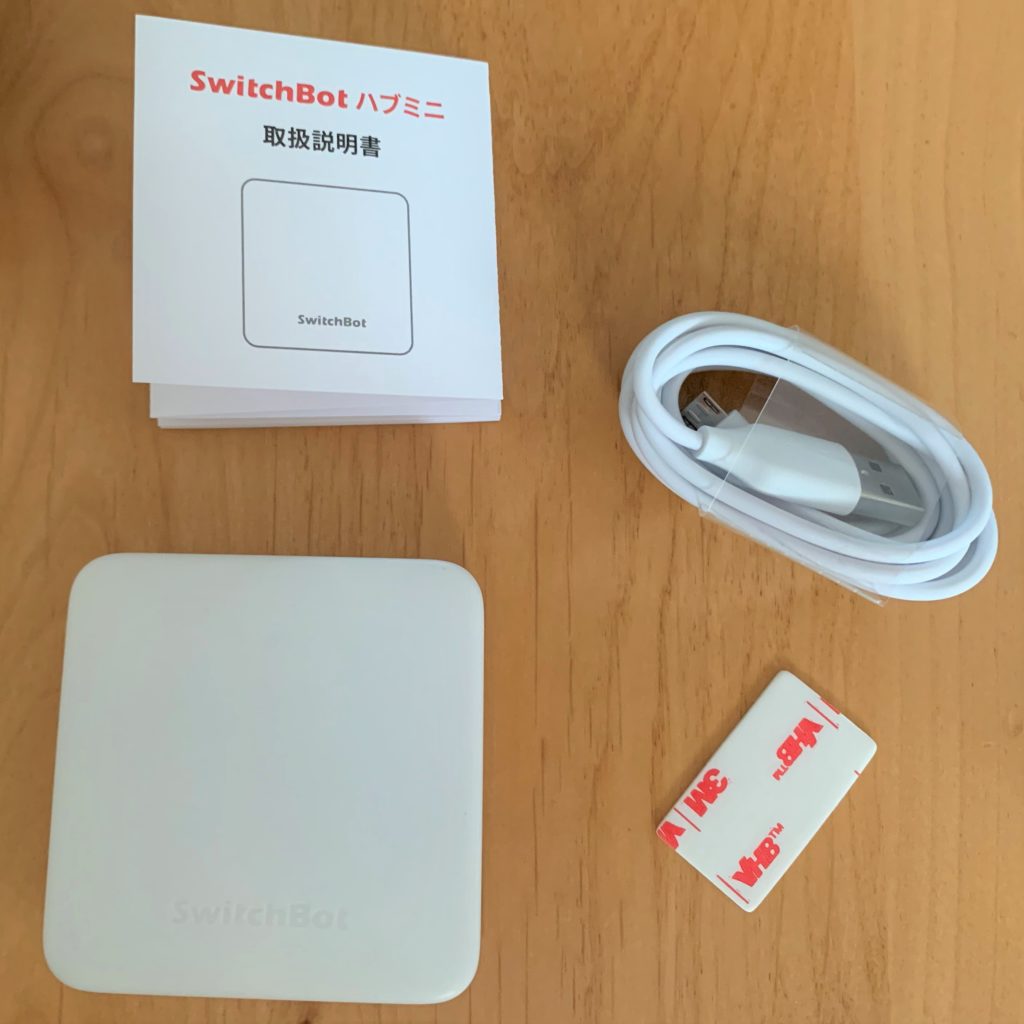
【スイッチボットHub】と【スイッチボットスイッチ】箱の中身
スイッチオンオフを遠隔操作するために必要なデバイスを2つ購入し届きました。
・SwitchBot Hub Mini
・SwitchBot スイッチボット スイッチ ボタンに適用 指ロボット
届いた箱はこんな感じです↓
当たり前ですが、箱の外側だけでは設定など細かいことはわかりません。
 ネコ
ネコスイッチボットのアプリが必要なことだけはわかる
と、いう事で開けてみました!底から開けた方が開けやすいです。上からだと何かが邪魔してうまく開けられません。

 チョリー
チョリー箱開けてみたけど、よくわからんパーツの集まりですね
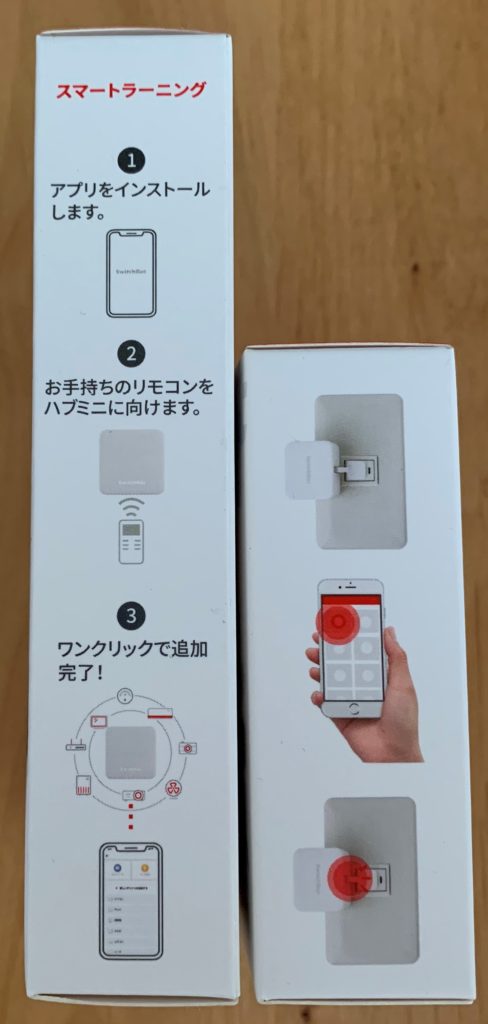
説明書はこんな感じです↓
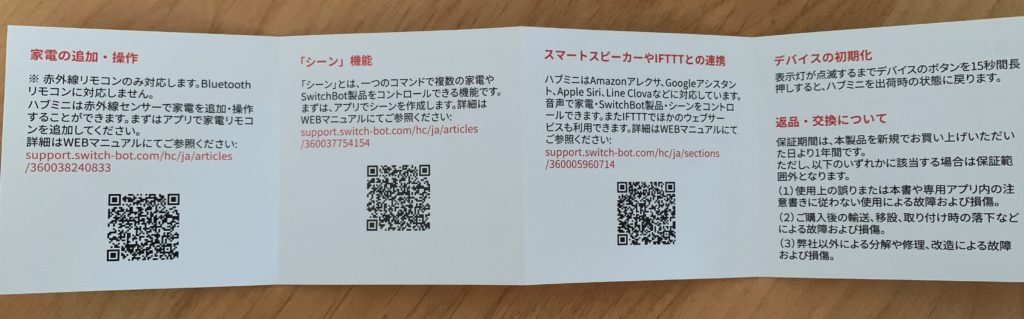
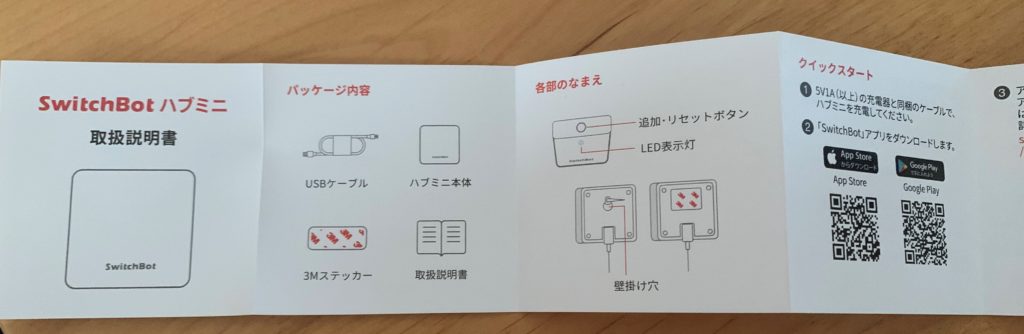
詳しい説明書はないので、スイッチボットの公式ホームページを見てなんとかやるしかなさそうです!
 もぐら博士
もぐら博士まずは説明書のQRコードからスイッチボットのアプリをダウンロード!
\ ここからもダウンロードできます/


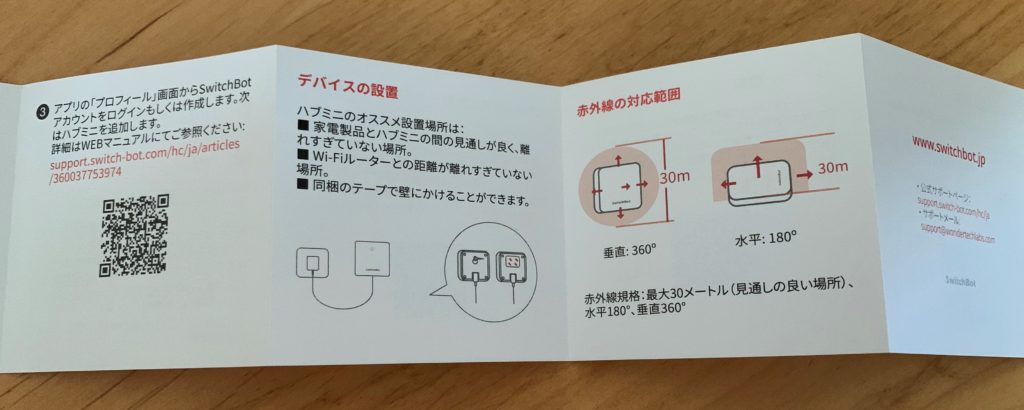
スイッチボットHub(SwitchBot Hub Mini)の初めにやる事
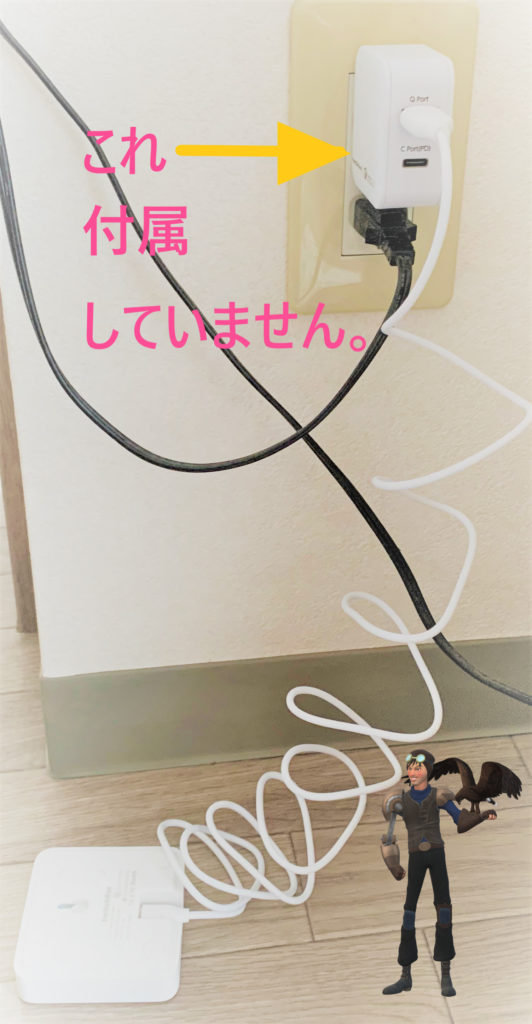

アダプターは別売りです。
説明書に「充電してください」と書いてあるので、充電してしばらく(3.、4時間)放置しました。
チョリーあとは、スイッチボットのアプリをスマホに入れる(=^・^=)
スイッチボットHub(SwitchBot Hub Mini)アプリ設定
まず、アプリをダウンロードしてアプリの指示に従って進んでいくだけなのですが、結構やることが多いですw!
がんばりましょう(^^)/
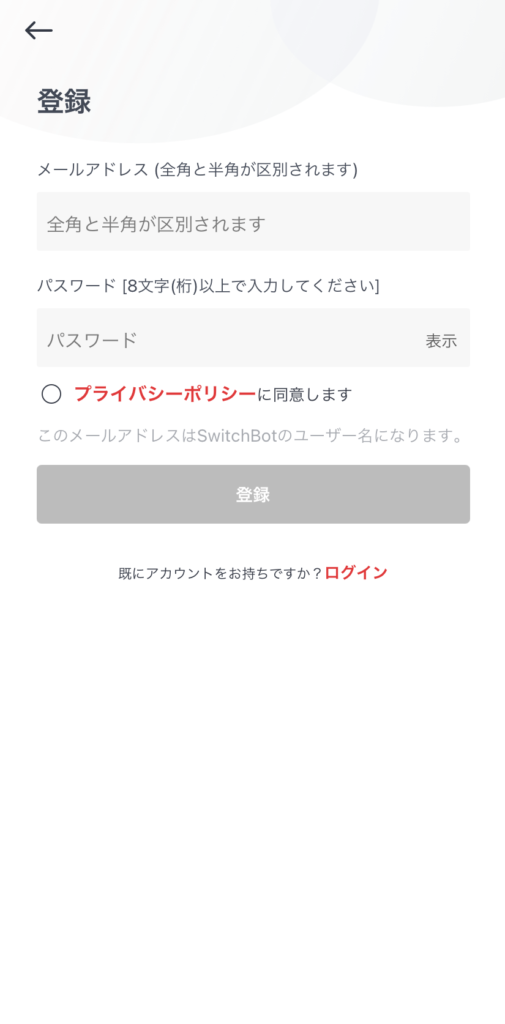
★他の方もレビューで書いていたのですが、パスワードは英語が使えなかった。数字しか入れられない状態になっているのは何故だろう・・・そのため私は数字だけでパスワードを作りました。
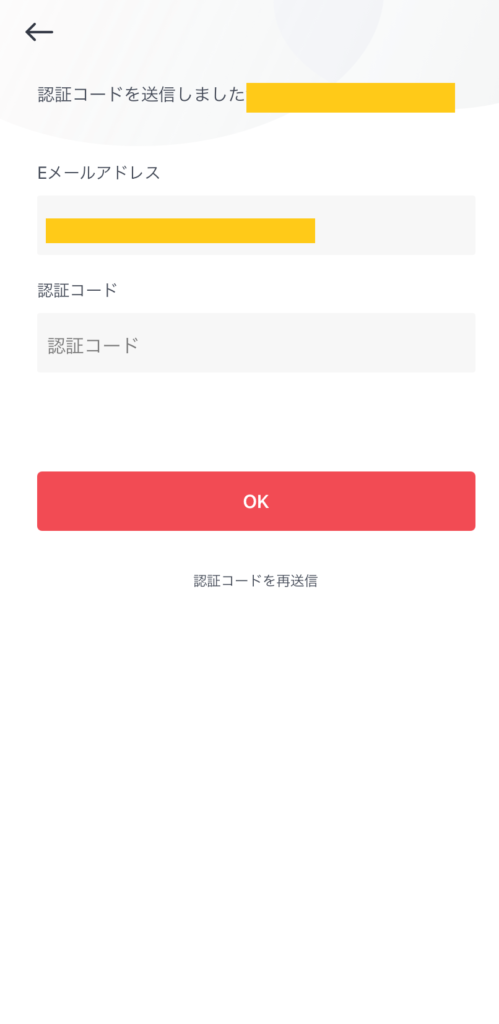
メールに届いた認証コードを入力
 ネコ
ネコアカウントを作成し終わった後はWi-Fiの設定!もう一息!
アプリに指示が出てくるので進んでいくだけです!
 ネコ
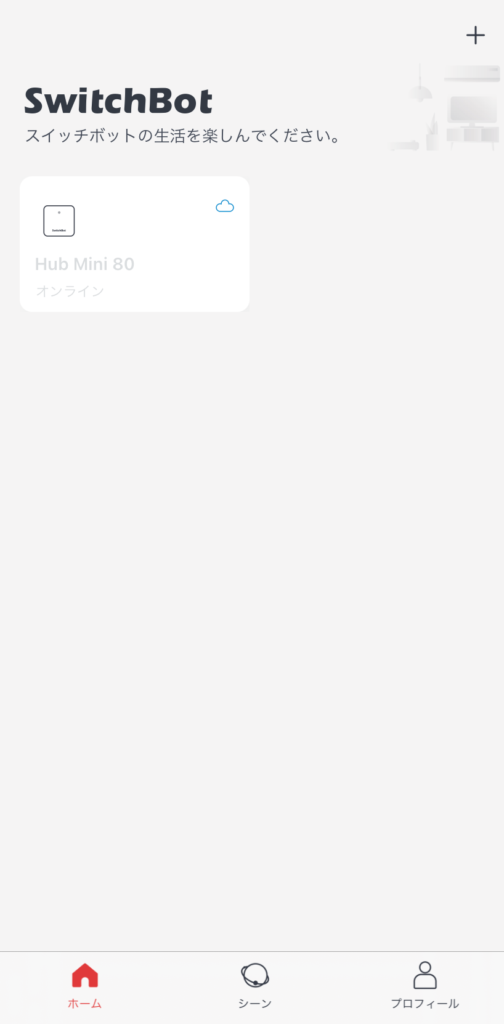
ネコスイッチボットHubミニの設定はこれで完了です。おつかれさまでした!
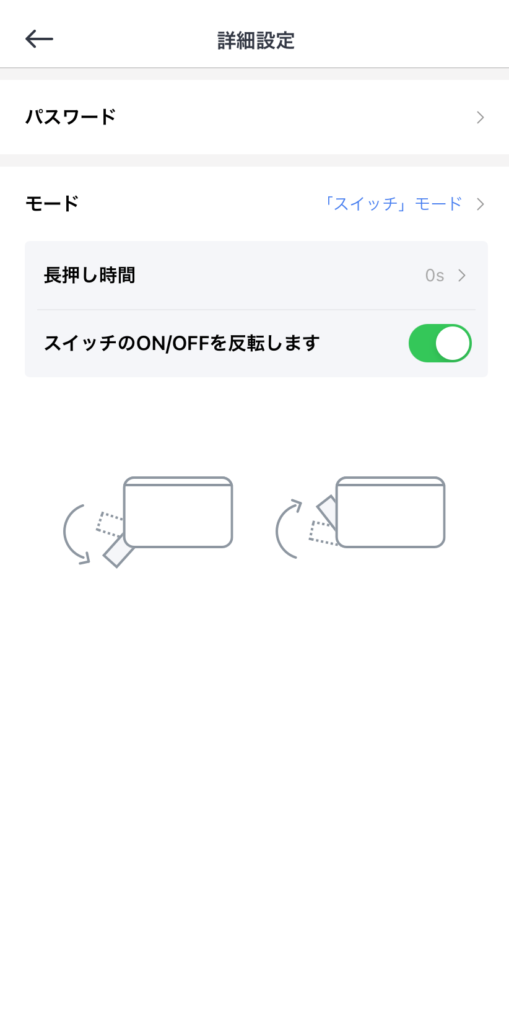
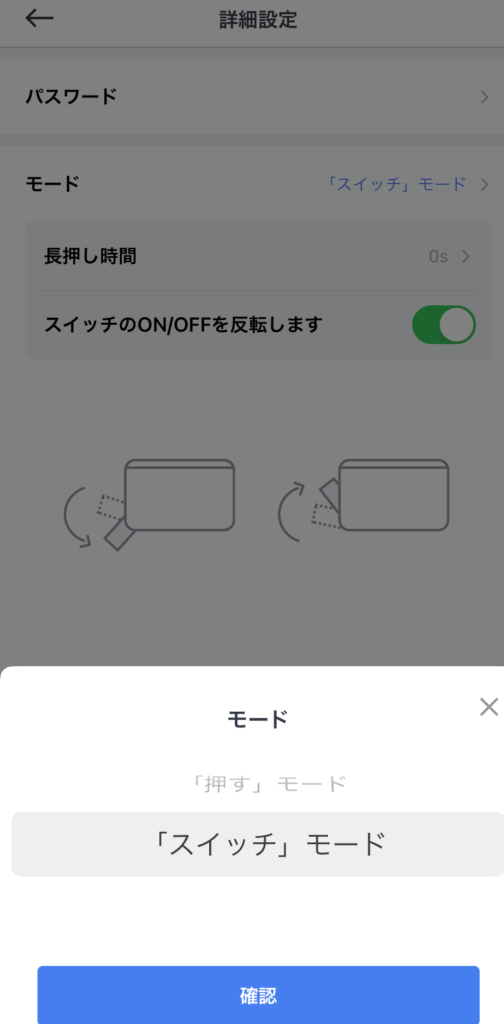
SwitchBot スイッチボタンに適用 指ロボットの設定

正直、スイッチボットのオンオフする指ロボットの設定というか設置が大変でした(^^;
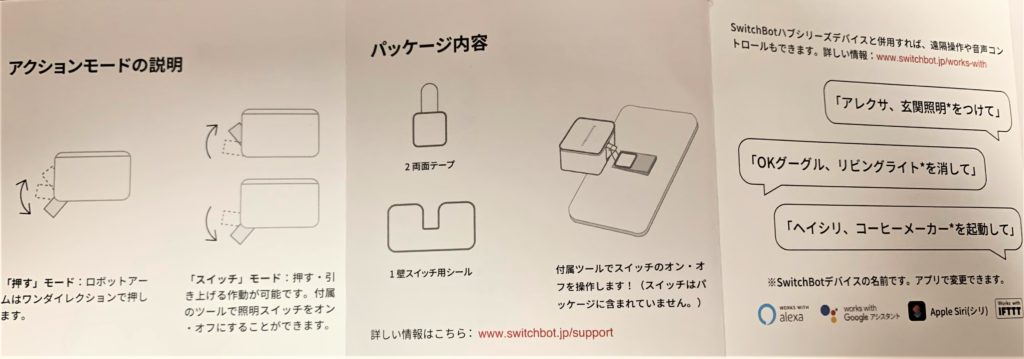
上の絵の左側(押してオンオフするタイプ)のスイッチなら簡単に設置できるはずです!
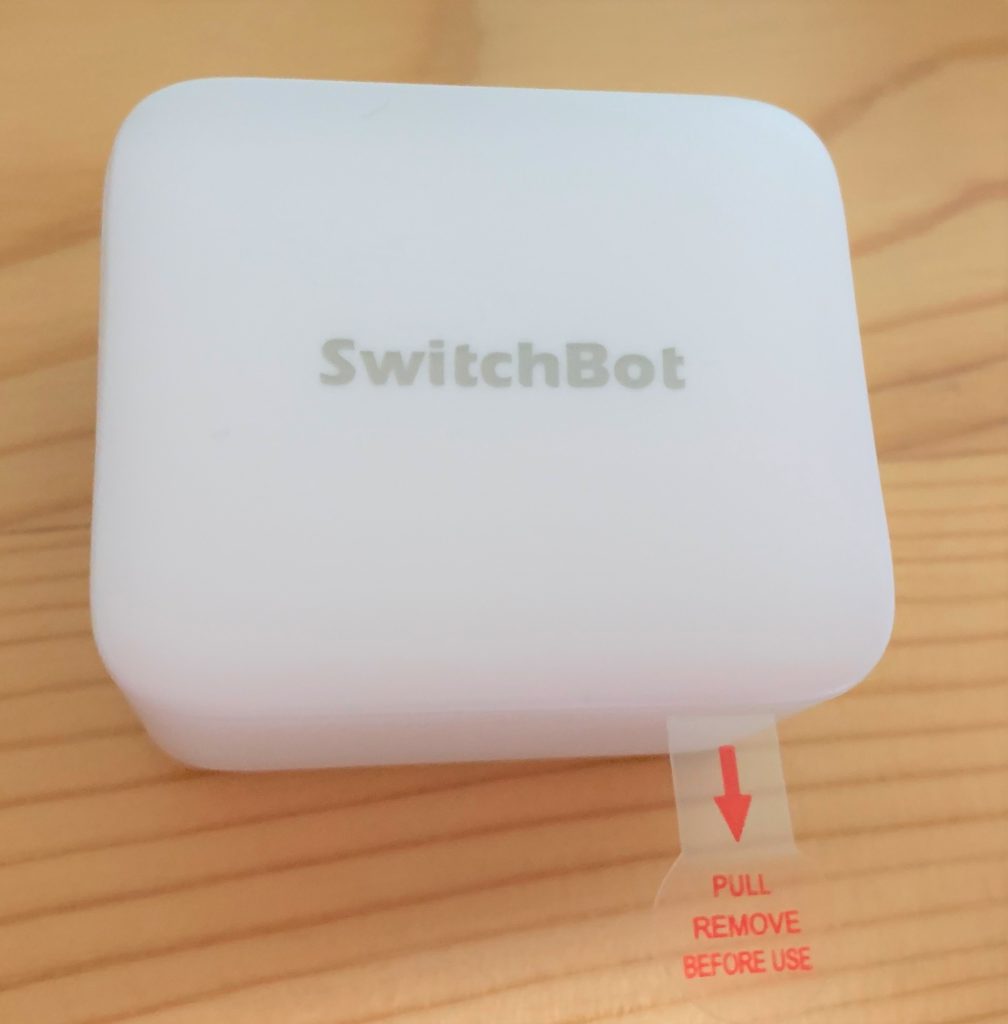
今回、電気スイッチをオンオフしてもらう装置なのですが、最初に上の透明なのを引っこ抜きます。
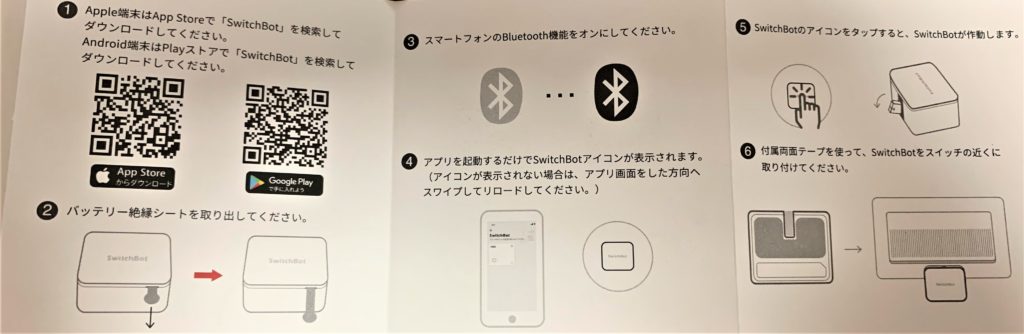
スイッチボットのアプリでやる事はあまりないのですが、一応少し設定があるので解説!
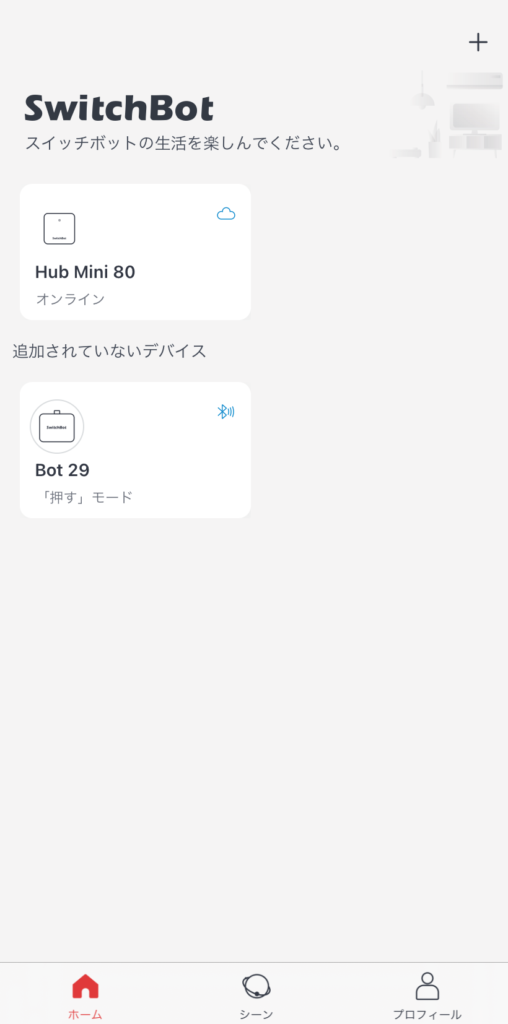
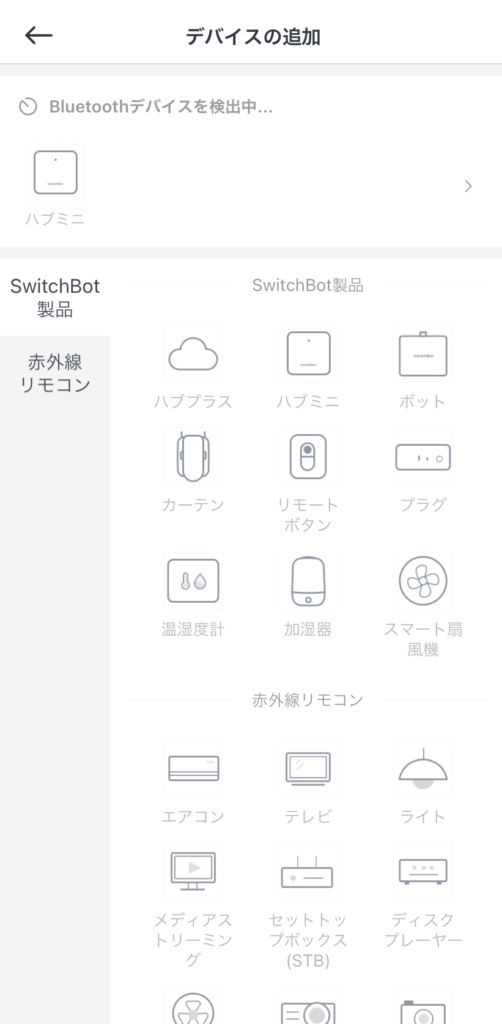
左上の+マークからデバイス追加
 チョリー
チョリースマホのBluetoothがオンになっていればここまではわりとスムーズにいくと思います!
アプリの設定が終わってから、実際に【スイッチボットスイッチボタン】を取り付けるのに、わたしは苦労しました(^^;
スイッチボタンの口コミを見ていると色々です。
・超強力両面テープなので一度貼ったらなかなか取れない
・なかなか取れないけど、実際にやってみないとスイッチボタンの動きがわからないので微調整が結構キツイ
・スイッチボタンの真ん中に透明のワイヤーを引っかけてスイッチを持ちあげてくれる操作を調整する作業の説明や情報が、あまりない
・簡単に出来るという口コミもありましたが、やはりみんな少しコツがいるとは言っている
・透明ワイヤーついている両面テープ2個しか入っていないので失敗は1回のみ
・両面テープのみで売っているらしいですけど買ったばかりなのに買いたくない…ですよね^^;
・両面テープをつける位置が反対の人の口コミ投稿を見てやっていたので全部やり直す羽目になった(アレ何だったんだろう…)
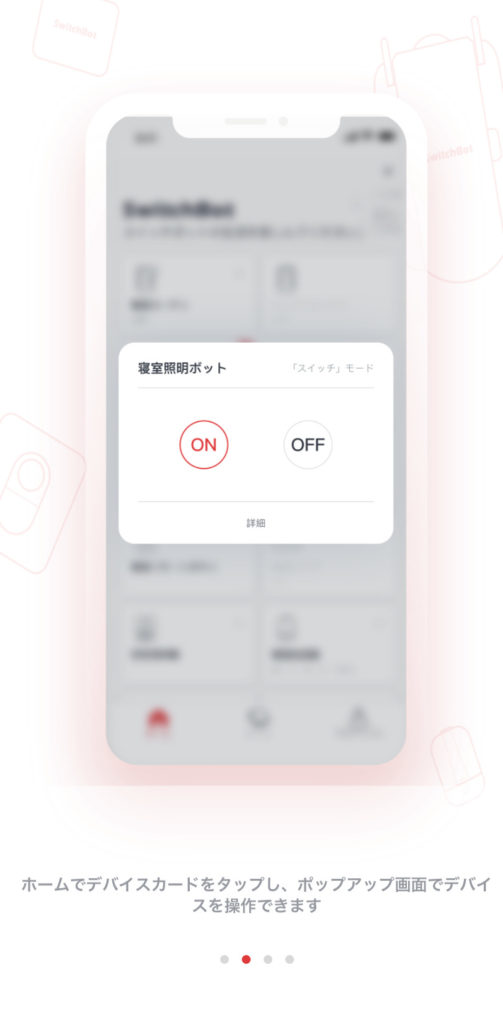
アプリからスイッチボタンのオンオフが出来る様になったら完了です。
おつかれさまでした(=^・^=)
Amazonアレクサとの連携もこの後おこないました!
アレクサとの連携方法については以下の記事で紹介しておりますので、ぜひ読んでみてください。
スイッチボットはもっともっと色々な家電と接続出来るので、気が向いたらやってみようと思います(*^▽^*)
チョリー最後までお読みいただきありがとうございました。

